User Interface
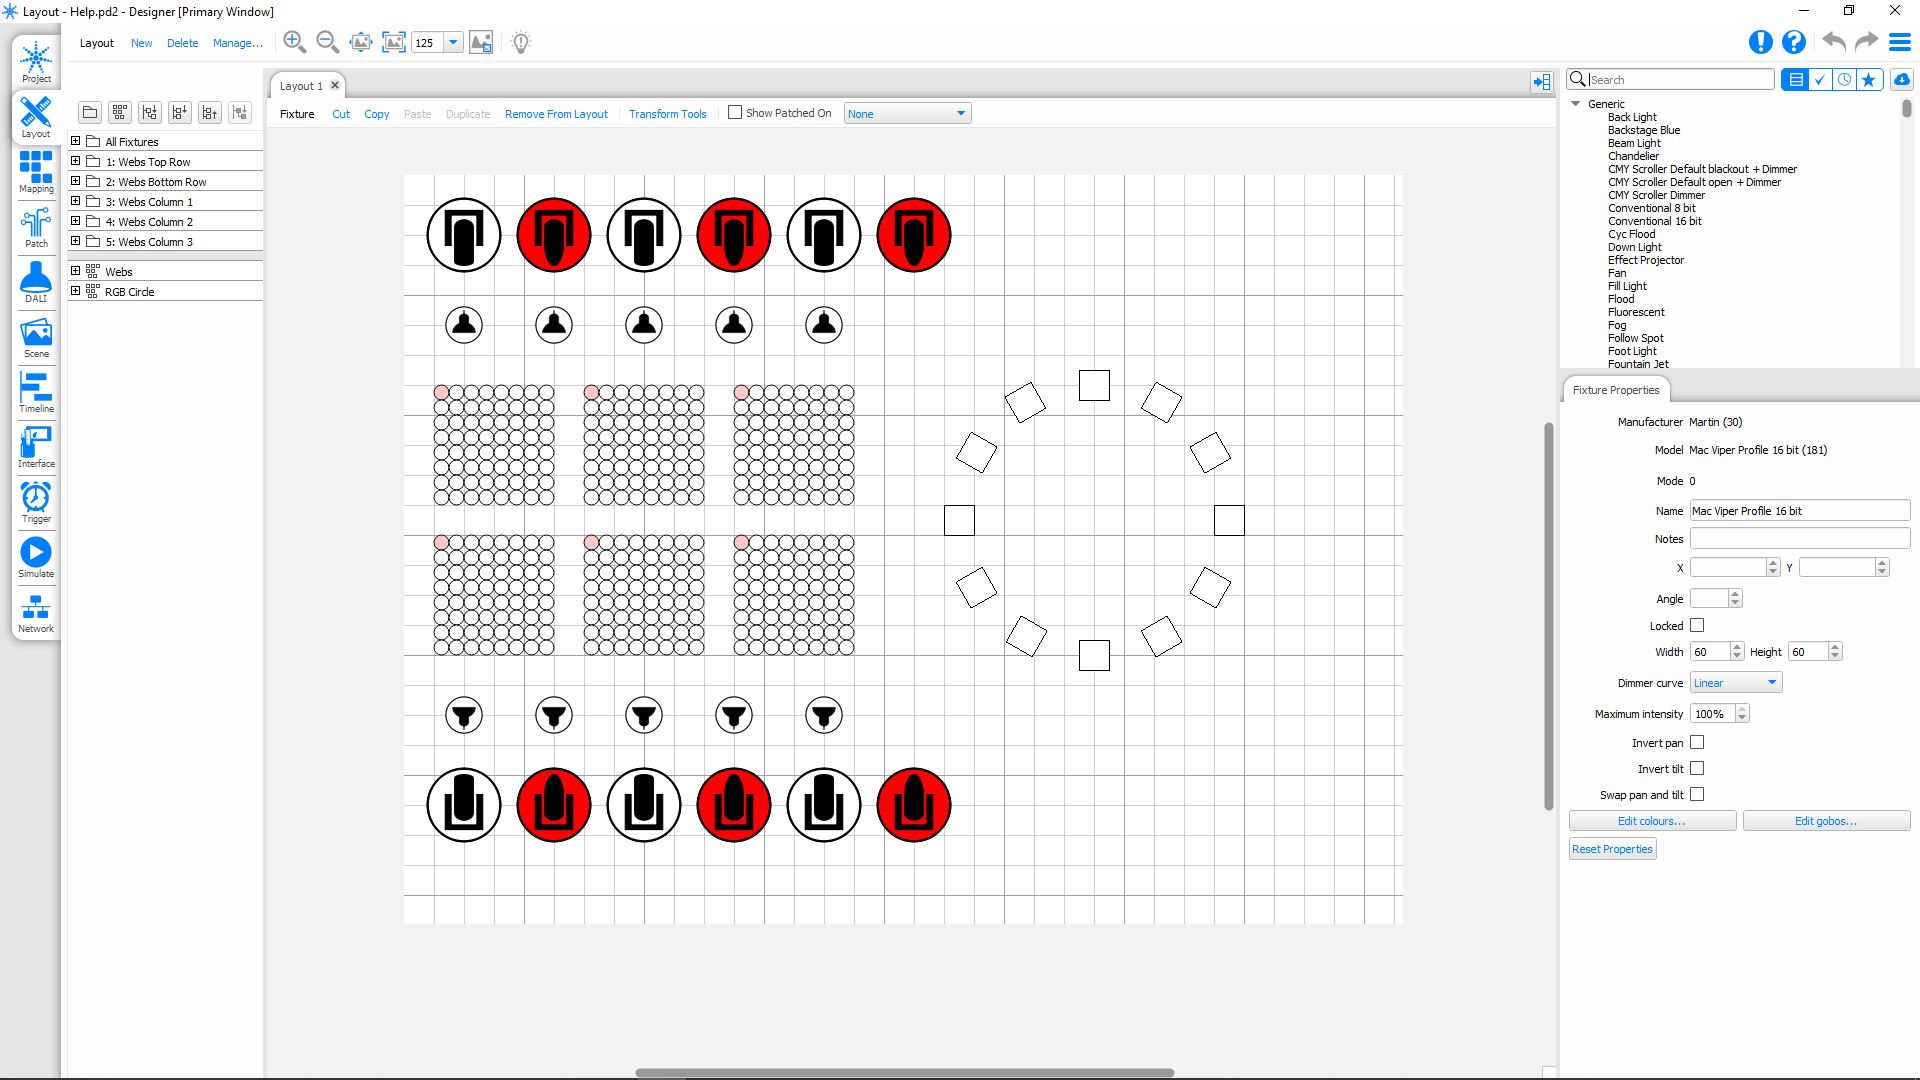
The software has been designed to present a consistent graphical user interface and so it is worth familiarising yourself with the layout of a typical window before proceeding further:
Main Toolbar
The main toolbar persists across all software modes and allows you to see any Issues in your project, access the Undo and Redo buttons and provides access to the Main Menu.
 Issues
The Issues browser will display any problems with the project file and take you to the location where the issue can be fixed. The location of an issue is indicated within the software with the Issues icon ![]() .
.
 Help
Help
The Software Help can be accessed using the Help icon on the main toolbar.
 Undo/
Undo/  Redo
Redo
The Undo and Redo buttons can be used to step through the last 20 actions completed within Pharos Designer.
 Main Menu
The Main Menu allows access to the following options:
- Save Project - Save the show file with the current file name
- Save Project As - Save a copy of the project file with a new name
- Archive Project - Save a copy of the project file as a .archive.pd2 file
- Upload
- Audio Viewer
- Timecode Viewer
- Output Viewer
- Controller Log Viewer
- Import Object - Import fixture layouts, Pixel matrices etc.
- Import Interface - Import a .ptc file created in Interface Editor
- Export Object - Export an object as a .csv file
- Preferences - Access the preferences dialog
- Register - Register your copy of PharosDesigner
- Help - Access this help file
- Send Feedback - Contact Pharos Support with feedback on Designer 2
- About
- Exit - Close PharosDesigner
Mode Tabs
The application is divided into eleven Modes which can be selected by clicking on the appropriate tab.
See the Quick Start overview for a brief description of each Mode and the relevant Reference section for more details.
Tear Off Views 
All tabs can be torn off so that multiple Modes can be seen at once. This is particularly useful for the Timeline and Simulate Modes.
To tear of a tab either:
- Hover over the view tab until the tear off icon
 appears, move your cursor over this icon and left-click. The selected Mode will appear in a separate window.
 - Click on a Mode tab and drag off the right side of the Mode tab bar. The selected Mode will appear in a second window.
NOTE: The currently open Mode cannot be torn off
Mode Toolbar
The view toolbar is populated with tools and options relevant to the Mode which is being worked in. See the relevant Reference section for more details.
Browser
The browser is common to many views and provides the primary interface for selecting, viewing and grouping fixtures Lighting instrument or luminaire. in the project. The rows of the browser are then used for Designer's timeline programming interface. Some Modes (Project, Interface, Trigger, Simulate and Network) have no browser since fixture selection is not relevant. Scroll bars will appear as required and the browser can be made wider by dragging the right hand border.
Browser toolbar
The Browser toolbar provides controls for expanding and collapsing groups A collection of fixtures or elements (pixels) within a fixture that provide a very useful shortcut for selecting and programming them together as one. and compound fixtures A lighting fixture containing more than one controllable element, for example an LED batten consisting of a number of identical elements or pixels. as well as for creating Groups and Pixel Matrices.
Object Tabs
Most of the Modes within Designer have multiple objects that can be opened at once, such as Layouts, Timelines and Interfaces.
The exceptions are Network and Trigger, which affect the whole project and don't have separate objects within them.
The tabs can be navigated by selecting them in the Tab bar. They can be closed using the close button within the tab. This doesn't delete the object, it can be reopened from the Manage button on the Mode Toolbar.
Main Workspace
The Main workspace is the central portion of the Designer window and is where most project work is carried out. Each view uses the main workspace in a different way, so see the relevant Reference section for more detail.
Configuration Area
Depending on the Mode and items selected, context-sensitive configuration or control pane(s) will appear here for fast and convenient editing.
Multiple Instances
It is possible to open multiple instances of Designer so that two projects can be worked on at the same time.
This can be done by opening a Designer 2 project from the operating system when Designer 2 is already open, or by selecting to open Designer 2 again.
If necessary one of these instances can be Designer v1.x.x.
NOTE: You cannot open the same project in multiple instances of Designer 2.
Copying between Instances
When you have multiple instances of Designer 2 open, you can copy elements from one project to the other:
- Fixtures
- Timeline Presets